
General
Proxies
The “Proxies” section is for adding, checking and managing the proxy servers used by Telegram accounts. Binding individual proxies lets you distribute network connections across accounts.
Adding proxies#
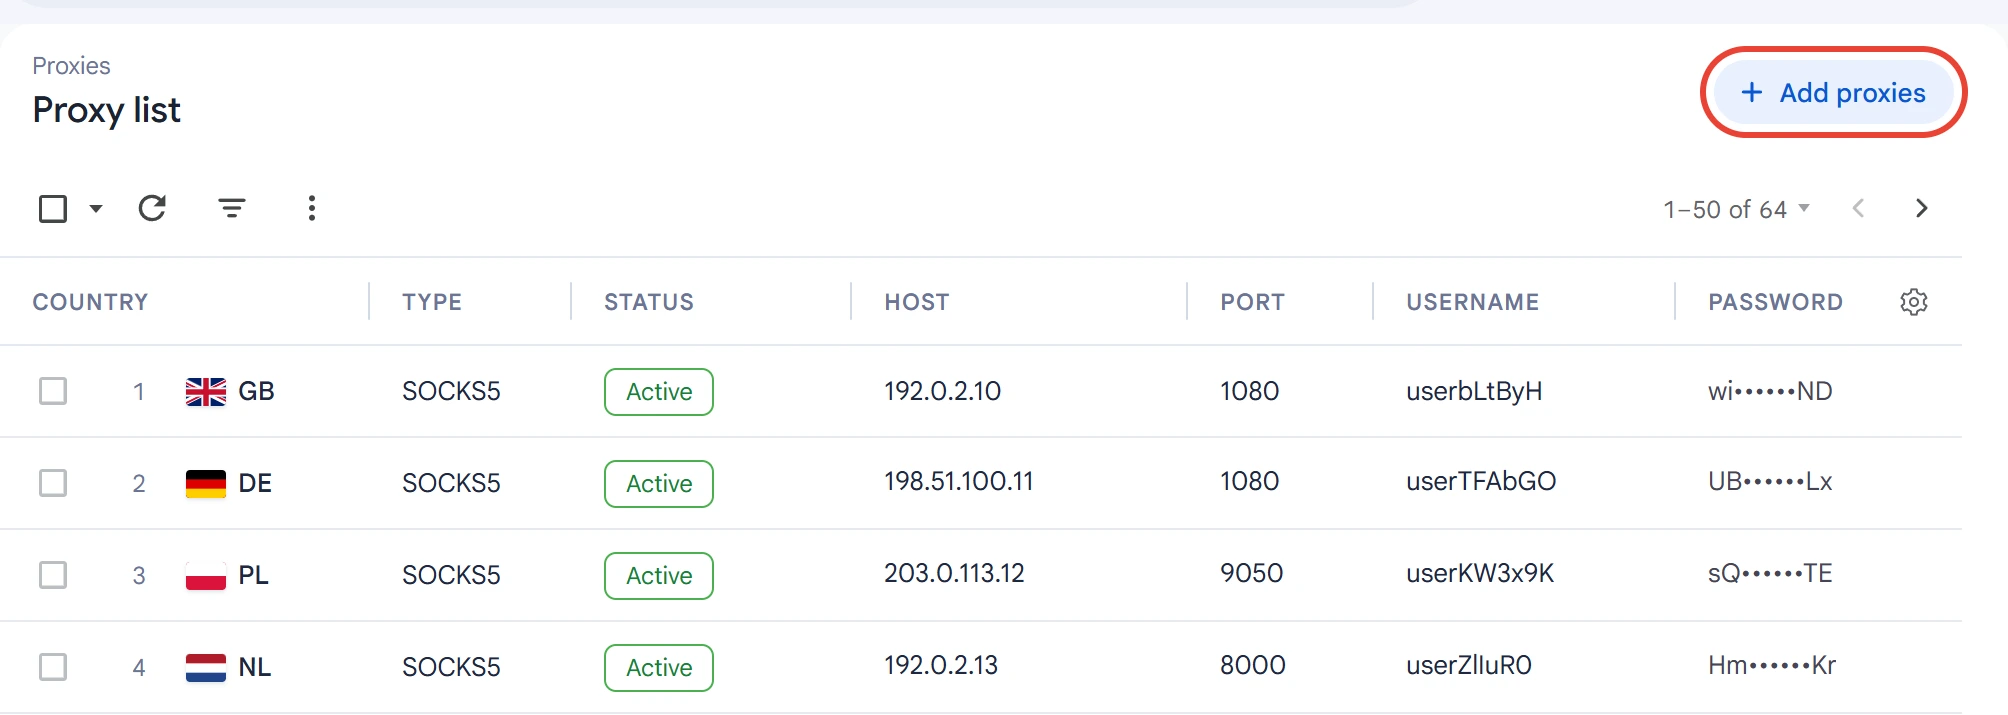
Open the “Proxies” section and click “Add proxies” in the top right corner.
Paste the proxy list into the input field, one proxy per line, in the format your provider gave you.
To load a list from a file, click “Load from file” and choose a .txt or .csv file. The file's contents are added to the lines you've already entered.
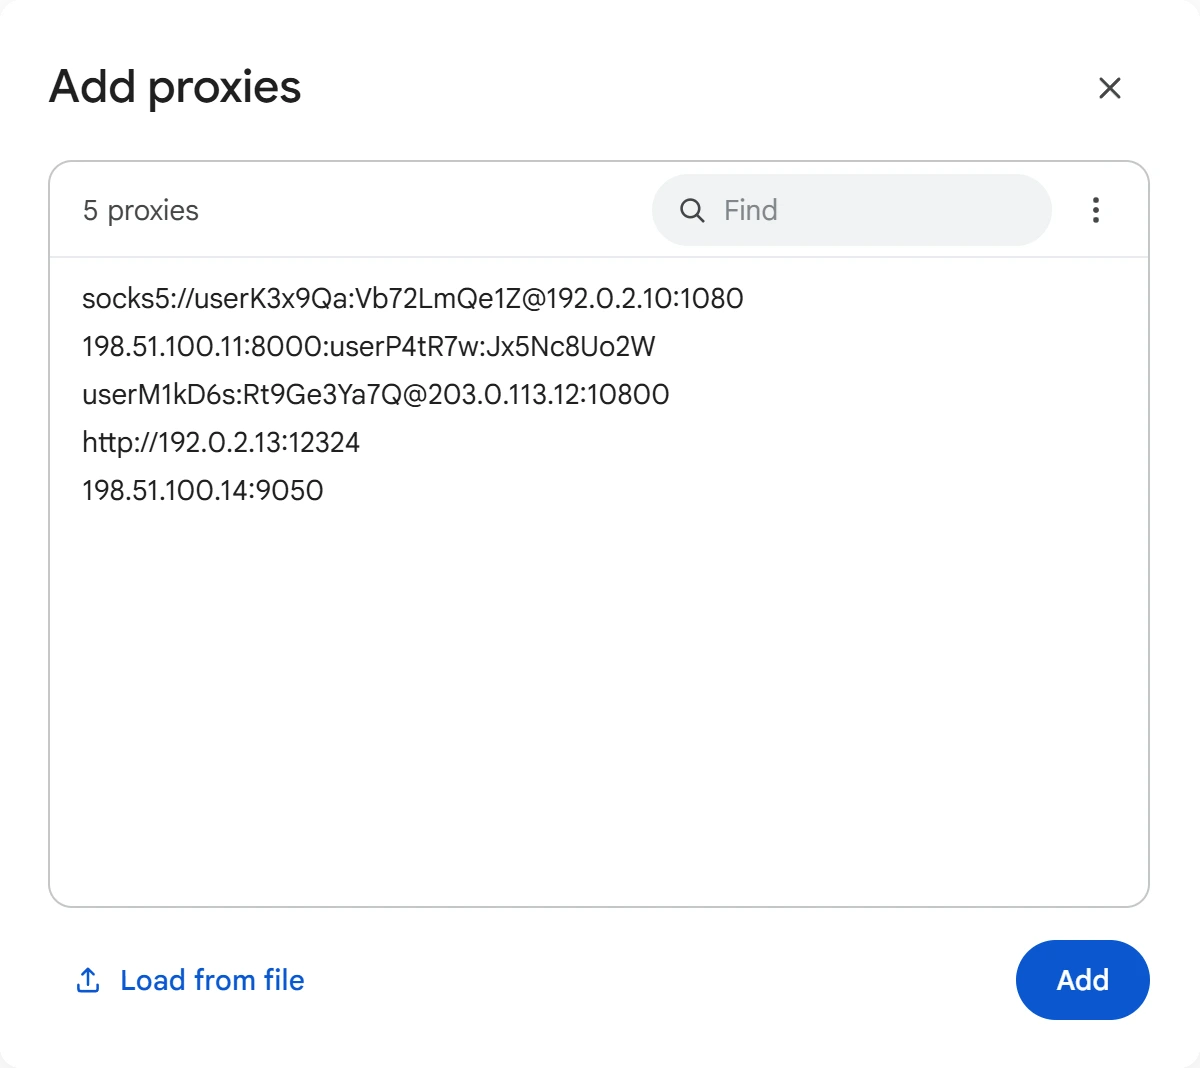
Additional window features:
- Record counter — shows the number of proxies entered.
- Search — lets you find proxies by text.
- Clearing the list — available from the “…” menu → “Clear list”.
Once the list is ready, click “Add”.
The app skips duplicates and proxies already saved in the section. Invalid records aren't added. If some lines couldn't be processed, a notification at the bottom of the screen shows how many.
After proxies are added, an availability check starts automatically. When you close the window, the text you entered is saved for the next time you open it.
Supported formats#
Enter each proxy on a separate line. The following formats are supported:
socks5://login:password@host:port
host:port:login:password
login:password@host:port
host:port@login:password
host:port
Example list:
socks5://userK3x9Qa:Vb72LmQe1Z@192.0.2.10:1080
198.51.100.11:8000:userP4tR7w:Jx5Nc8Uo2W
userM1kD6s:Rt9Ge3Ya7Q@203.0.113.12:10800
http://192.0.2.13:12324
Supported protocols: SOCKS5, SOCKS4, HTTP and HTTPS.
If no protocol is specified, the app uses SOCKS5. For HTTP and HTTPS proxies, specify the protocol explicitly, for example http://host:port or https://host:port.
Checking proxies#
To check all saved proxies, open the “⋮” menu above the table and choose “Check all”.
To check specific proxies, select their rows and click the check icon on the action bar.
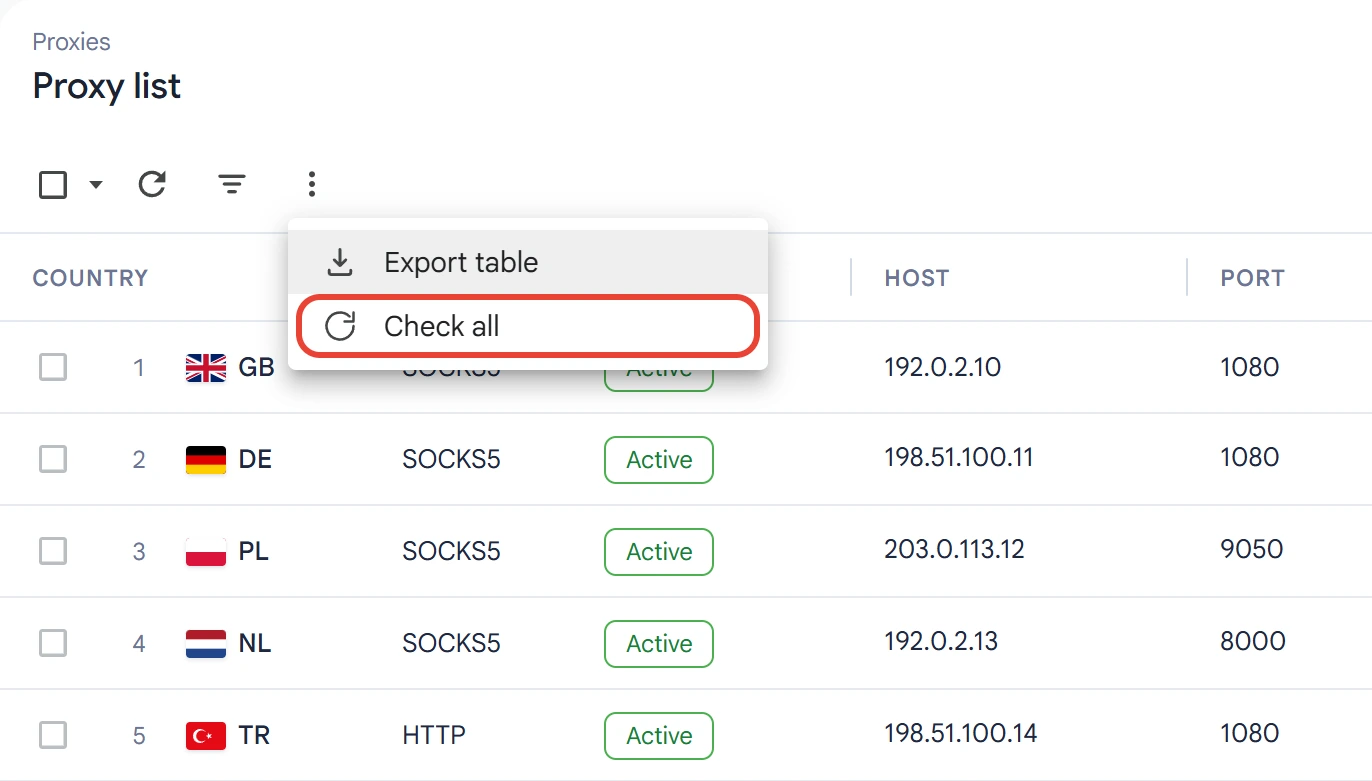
After the check, the app shows:
- Connection status — the result of the proxy check.
- Latency — the response time during the check.
- Country — the country determined from the proxy's IP address.
- Error reason — an explanation if the connection couldn't be established.
The check status tells you whether the proxy is available for connection. A successful check doesn't guarantee the proxy will stay available: its state can change.
Binding proxies to accounts#
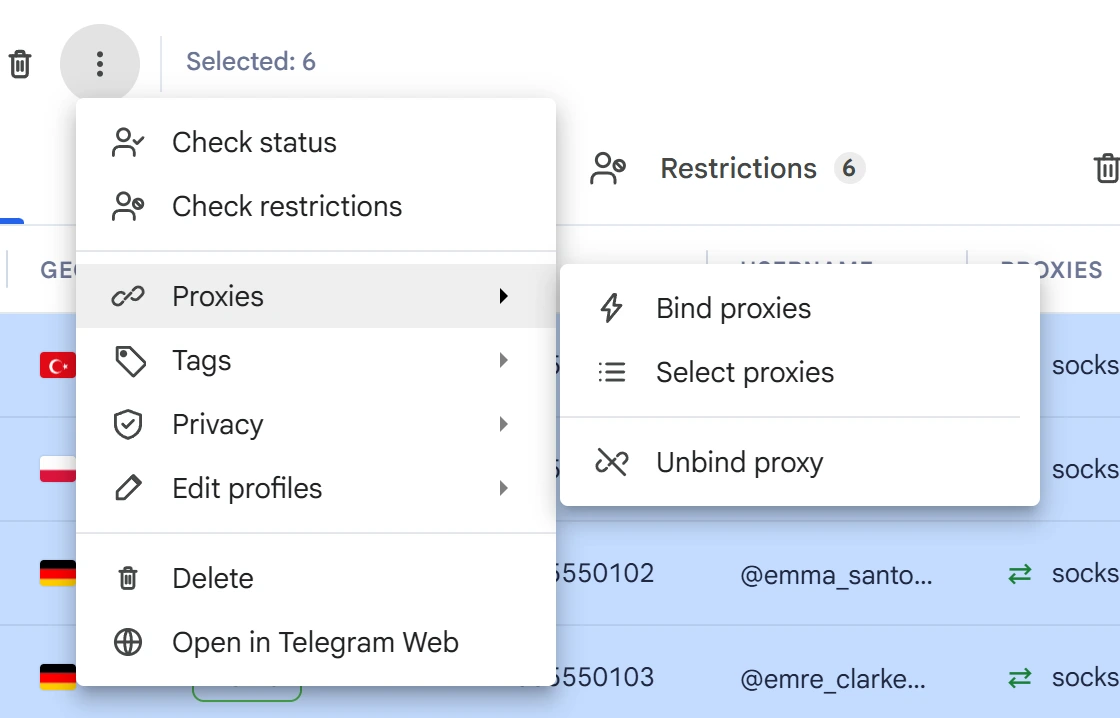
To assign a proxy, open the “Accounts” section, select the accounts you need and choose “⋮” → “Proxies”.
The following actions are available:
- Bind proxies — automatically distribute free proxies across the selected accounts.
- Select proxies — assign a specific proxy manually.
- Unbind proxy — remove the proxy binding from the selected accounts.
Checking an account requires an assigned proxy. Before starting tasks, make sure the bound proxies are available.
How many proxies you need#
When distributing connections, it's best to use a separate proxy for each account. This separates network connections, but doesn't guarantee that accounts are fully independent or that Telegram won't restrict them.
When choosing a provider, consider not only the number of available IP addresses but also the proxy type, connection stability, and limits on traffic and the number of connections. Several addresses may share the same network infrastructure.
For information on buying proxies and accounts, see Where to get proxies and accounts.
Fixing connection problems#
If a proxy fails the check, follow these steps:
- Check the connection parameters. Make sure the host, port, username and password are correct.
- Check the protocol. Make sure the proxy type matches the specified protocol. If no protocol is set, the app uses SOCKS5.
- Look at the error reason. Run the proxy check and read the result message.
- Check the proxy's status with your provider. Confirm its expiry date, server availability and limits on the number of connections.
- Check your computer's network settings. A VPN or other proxy tools can affect the connection.
- Reduce the number of threads. If several accounts get errors at the same time, reduce the number of parallel tasks and run the check again.
If the problem persists, contact Airgram support and attach the diagnostic data from My Airgram.